Your first store in 10 minutes
Create the store page, pick your aisles, set the look, preview and open the doors. The settings page tracks each step for you.
The setup card on Aisleza → Settings lists five steps with a progress bar. You can do them in any order; the card ticks each one off.
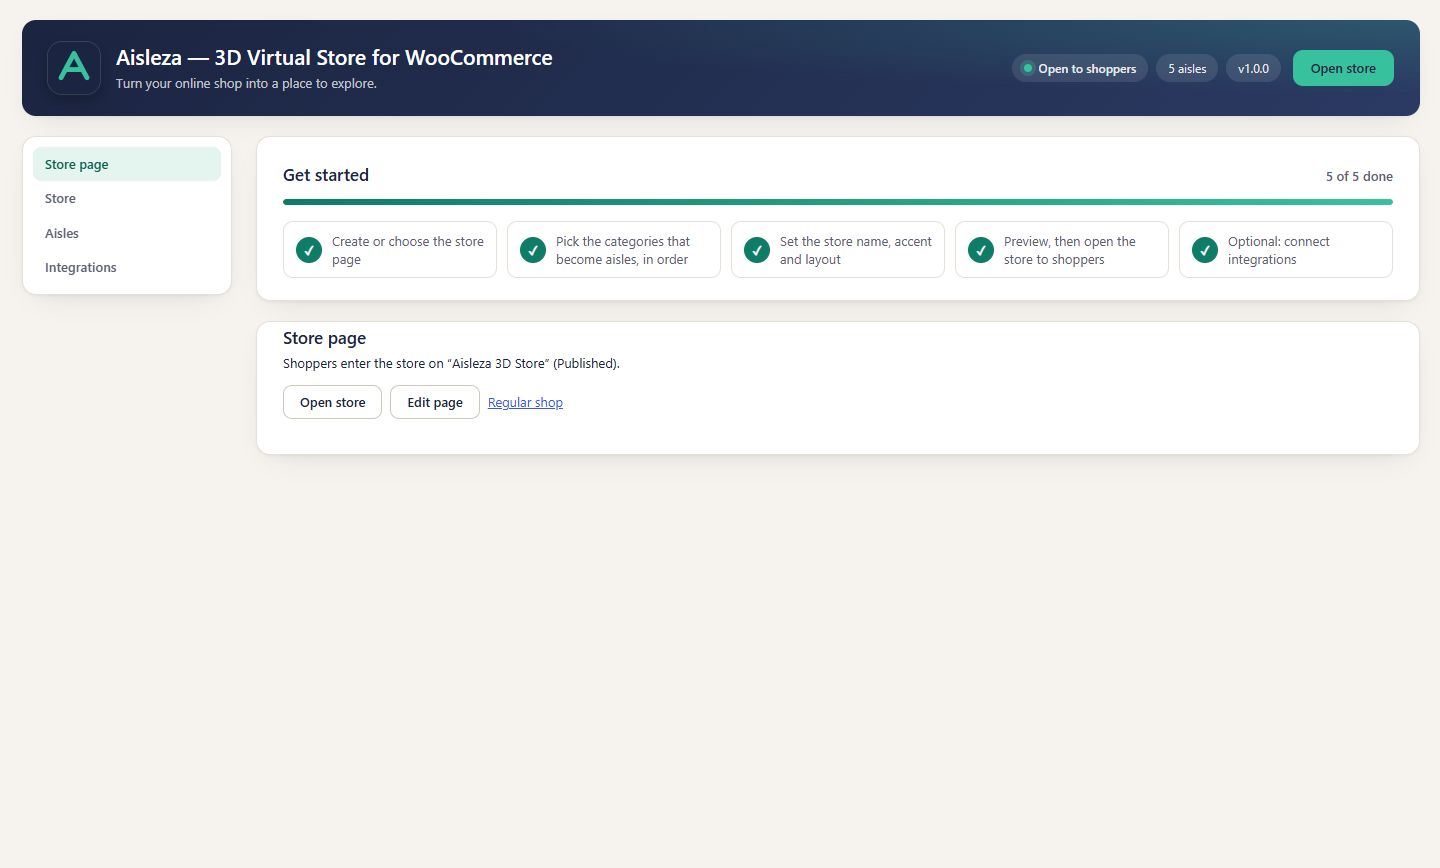
1. Create or choose the store page#
On the Store page tab press Create virtual store page. Aisleza creates a page that starts as a draft, so nobody sees it until you publish it. Already have a page? Choose it from the list instead; it only needs to contain [aisleza], or use the Full window layout, which shows the store whatever the page contains.
2. Pick the categories that become aisles#
On the Aisles tab, tick each category that should be an aisle and give it a position number. The lowest number is the first aisle from the entrance. Optionally rename the sign, choose its colour and show the category image on it. See Aisles from categories.
3. Set the store name, accent and layout#
On the Store tab:
- Store name: shown on the shop front and the trolley handle.
- Brand accent: used for the shop front, signs and buttons. Text and fonts follow your site.
- Layout: Full window (recommended) or Inside my theme. See Store page & layouts.
4. Preview#
Press Preview store. While you’re logged in you can walk the store even if it’s switched off or the page is a draft. Walk in, open a product, add something to the trolley and try the checkout lane.
5. Open the store to shoppers#
Tick Open the virtual store to shoppers, save, and publish the store page. Then add the page to your menu, or turn on the shop banner so shoppers find it from your shop grid.
While the store is switched off, shoppers who reach the page see a short “closed” message with a link to your shop. You can keep previewing as an admin.
Optional: integrations#
The Integrations tab connects optional extras such as WearGraph try-on. Your store works fully without any of them.